MySQL server is an open-source database management system mostly used for data warehousing, web applications, and e-commerce. The database is designed in a way that is scalable, fast, and reliable. it is also known for its wide support for programming languages and operating systems and can run windows as well as Linux environment. for our case we are going to explain to you how to install on ubuntu Debian GNU/Linux 11
install MySQL on Ubuntu Debian GNU/Linux 11
To install MySQL this is the step-by-step guide:-
run this command so as to do an update of our operating system
sudo apt-get update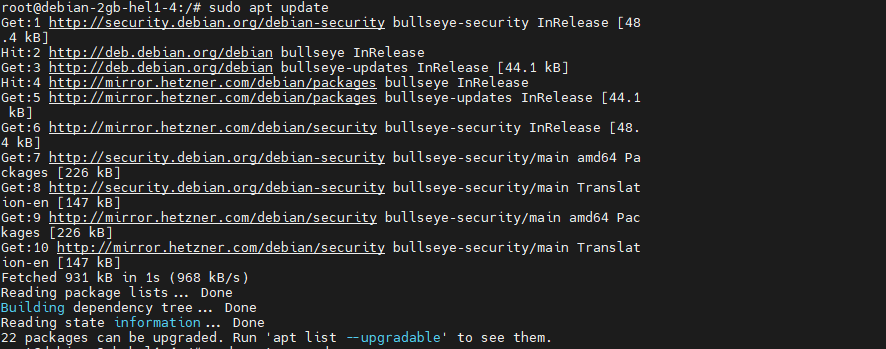
Install the MySQL server package using the below command
sudo apt-get install mysql-serverSometimes you find out that an error occurs when the above command run, the error could be as below;
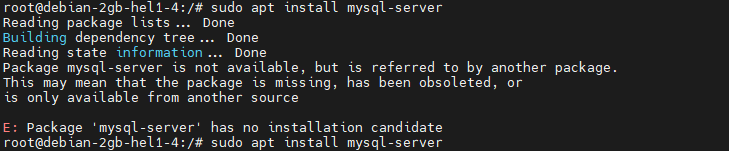
to resolve the above error in a situation you encounter,it is usually recommended you add the packages manually using the commands listed below:-
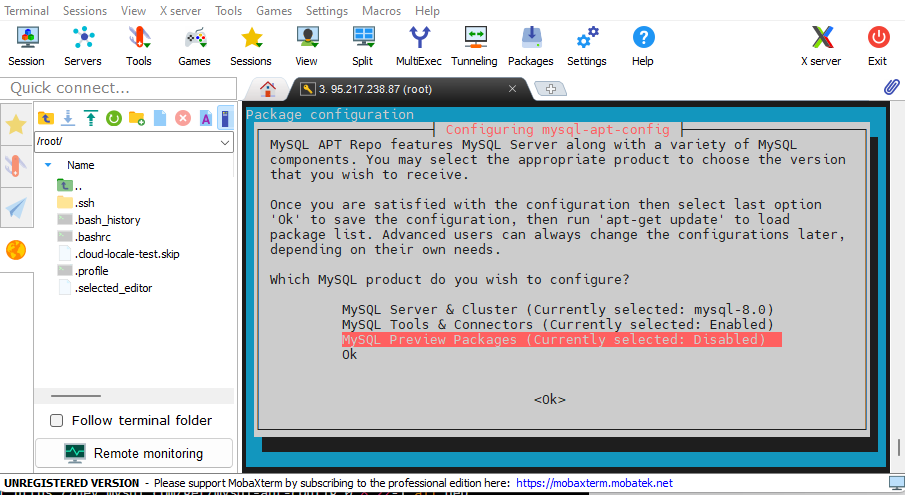
wget https://dev.mysql.com/get/mysql-apt-config_0.8.22-1_all.deb
sudo dpkg -i mysql-apt-config_0.8.22-1_all.deb
During installation, you will be prompted to choose the MySQL version to install and then progress with the installation process
After installation is complete proceed to do an update to the package by running the command below:
sudo apt-get updatewhen the update package process is complete, now proceed to tun the installation command and you will be able to proceed with the installation of the MySQL server. As installation progresses you will be prompted to set a root password for MySQL, We usually recommend using a strong password.
When the installation process installation is complete, to start the MySQL service we will use the command below:
sudo service mysql statusOnce the start command is running we can use the below command to verify the status of our database:
sudo service mysql statusAccessing MySQL Server Database Just Installed
if you have installed MySQL on the local machine, to access the MySQL server we will access using the “localhost” or the IP Address 127.0.0.1
here are the listed steps to follow to access:
- open the command terminal
- run this command to start the service, this you only run when MySQL not running already.
sudo systemctl start mysql- What follows next is to connect to MySQL Server using the command below
mysql -h 127.0.0.1 -u root -p- The command above the -h specifies the IP address (127.0.0.1) as the host,-u as the user who in our case is (root), and -p specifies the password you chose to use when connecting the MySQL server
Once the connection is successful you can now proceed to start working with the MySQL server, by creating the databases and tables you would like to use.
In a situation you did the installation on a server, we will use the IP address of that machine to connect to MySQL Server. You can access using the clients like Dbeaver or any other that supports MySQL.Here is the link to some of the Clients you can use
Conclusion
The general connection settings that you will be required when connecting to MySQL Server is as listed below
- the Hostname or IP of Where My SQL server is installed
- the port number MySQL is listening on and by default we use port:3306
- Name of the Database we are connecting to.
- Use the username and the password you chose to authenticate the MySQL server
Related articles


Leave a Reply